
- LINKSYS WRT54GL with OnWire/RS232 mini-interface -
2008.11.30 Made the 'Mini-interface' for connecting the DS18S20 '1-Wire' Temperature sensors to the LINSYS WRT54GL Router today. Complete description of my '1-Wire' sensor network -->Here!
Im using a second hand LINKSYS WRT54GL v.1.1 Router. Found information about this modification on the LINKSYS WRT54G/GL/GS models on the Internet, don't know if it works with any other LINKSYS routers. First thing to do is finding the com-port on the PCB, make a 'loop' from TX to RX terminals and make the 'loopback' test to be shure it works with the router.
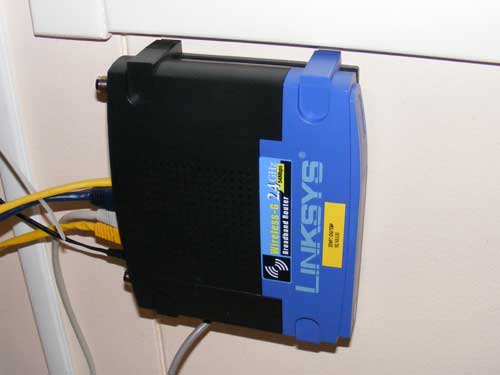
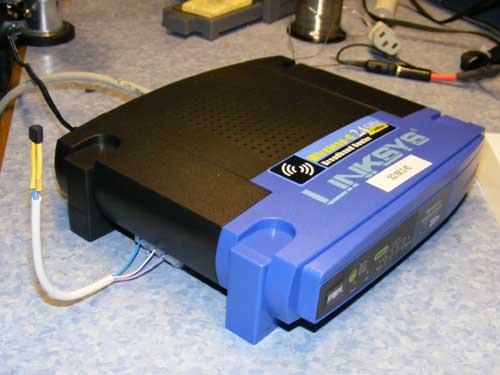
LINKSYS WRT54GL v.1.1 Router mounted on wall
Inspiration and ideas is originaly found on Leon Kos web-site - Take a look! Nice!!!
To make shure i got correct hardware version of the router i started with the tty 'loopback' test described by Leon,- before i make the interface i soldered a jumper from TX to TX on pin 3 to 5 on JP2 on the pcb,- Worked OK!
- Hardware -
This simple interface is described by Leon Kos on his web-site (Se above!) - The interface is made with one PNP-Transistor (BC557) and tree 1/4W resistor
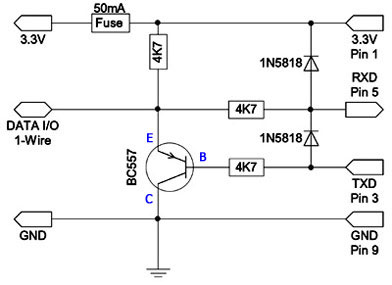 Interface with 1N5818 schotty diodes |
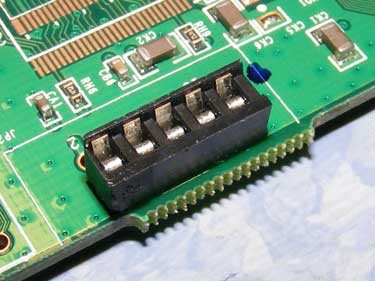
 JP2 Pin layout on the router PCB |
JP2 Pinout (LINKSYS WRT54GL v.1.1 Router board
================================================
pin 1 = +3.3V         pin 2 = +3.3V
pin 3 = TXD tty/1     pin 4 = TXD tty/0
pin 5 = RXD tty/1     pin 6 = RXD tty/0
pin 7 = N/C           pin 8 = N/C
pin 9 = GND          pin 10 = GND
I added two 1N5818 schotty diodes for transient protection because my 1-Wire network exeeds 10-Meter in total lenght. Using also one half of DIL-IC socket to connect my 'piggy-back' interface bord onto the 'JP2' connector on te router main-board.
5pol row made from half DIL-IC Socket
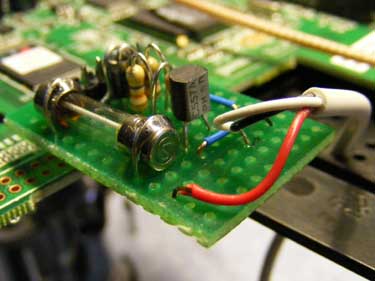
Closeup - 'piggy-back' Interface board
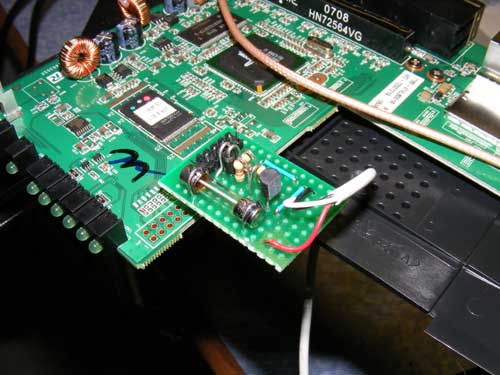
'piggy-back' interface board in place
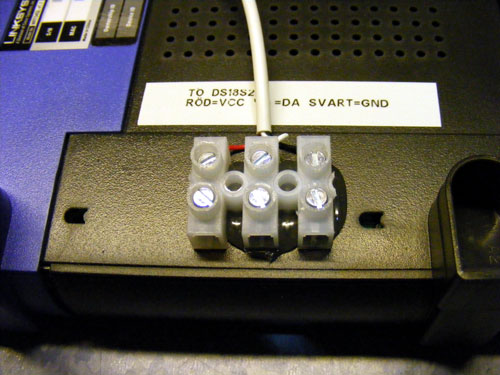
Sensor connection terminal on the router
- Software / DD-WRT / DigiTemp -
Prepared the router with firmware DD-WRT 2.3 std (DD-WRT v23 SP2 date:09/15/06 std - build 3932) - Complete description (In Swedish) for download and upgrade the firmware is found on this page.
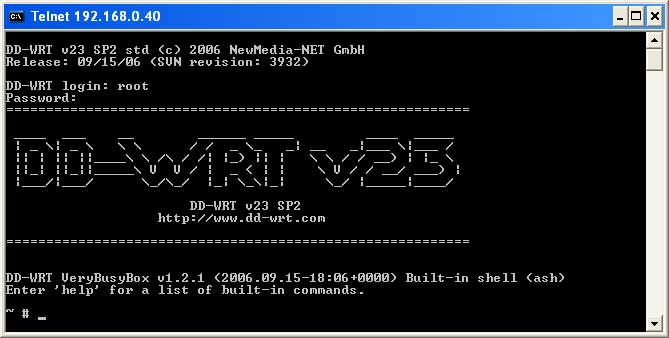
DD-WRT Telnet session Screen dump
- Test setup -
Using the ready compiled digitemp binary for the DD-WRT found on Leon Kos web-site (Se above!) - Installed a simple FTP-Server (Cerberus)(Not described here) on my computer and downloaded the digitemp binary to the /tmp directory on the router. Used ftpget as described.
Connected one sensor to the Sensor connection terminal on the router and made the testrun. Image show my 'hookup' and text describe simple command syntax made in the DD-WRT telnet session.
Test setup with one DS18S20 sensor
_________________________________________________________________________________ Change active directory to /tmp (simply because It's possible to write in this directory) ~# cd /tmp _________________________________________________________________________________ Download digitemp binary from PC with ftpget (FTP server running on local PC) /tmp # ftpget 192.168.0.20 -u ddwrt -p ddwrt digitemp /ddwrt/digitemp /tmp # ftpget [host] -u [username] -p [password] [target] [suorce] = Syntax _________________________________________________________________________________ First run with digitemp -From the /tmp directory /tmp # ./digitemp -s /dev/tts/1 -i |
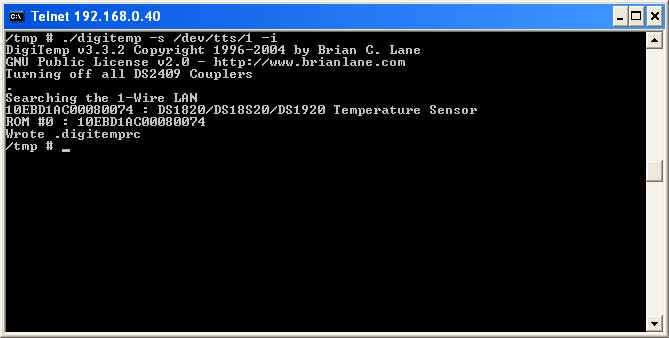 ScreenDump - Interface test with one sensor connected |
_________________________________________________________________________________ The .digitemprc file is writen to the /tmp directory, list /tmp directory to check. /tmp # ls -al |
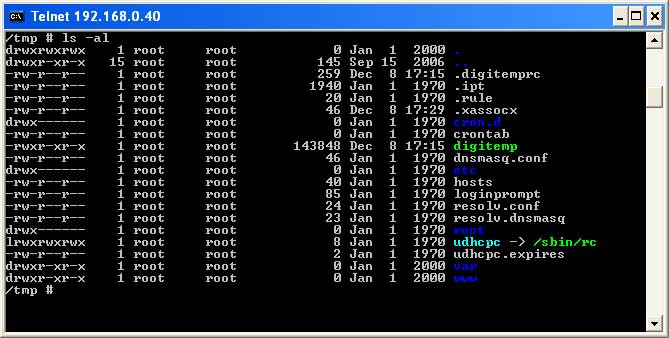 ScreenDump - Directory /tmp list |
_________________________________________________________________________________ Run Digitemp to read temperature from sensor /tmp # ./digitemp -a -q |
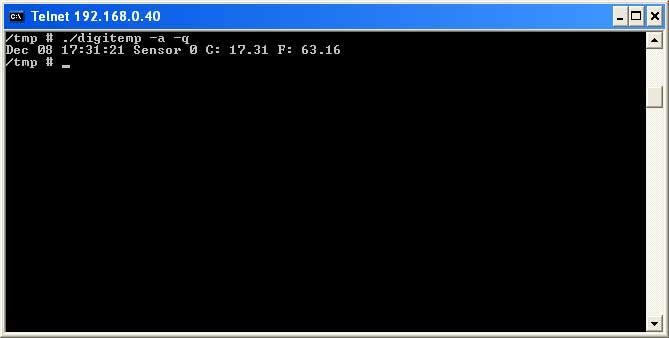
ScreenDump - Digitemp running with information from .digitemprc file
- Start SETUP / UPLOAD -
This setup is to make the router start and download digitemp with 'wget' from my server,- the startup then changes the permission to the file with 'chmod' to make it possible to execute, then the digitemp is executed to make the .digitemprc config file, digitemp is then executed again to start the temperature log.
_________________________________________________________________________________ Edit startup configuration (rc_startup) ~# nvram set rc_startup='#!/bin/sh > wget http://myserver.shacknet.nu/software/digitemp.bin -O /tmp/root/digitemp > cd /tmp/root > chmod 777 digitemp > ./digitemp -s /dev/tts/1 -i > ./digitemp -l /tmp/root/temp.log -d 60 -q -n 0 -a > ftpget 195.84.101.107 -u [username] -p [password] upload.sh upload.sh > ./upload.sh &' _________________________________________________________________________________ Save to startup configuration ~# nvram commit |
| Finaly the upload script is downloaded and executed, upload starts,- the script sleeps for 300sec and the loops back endlessly. |
#!/bin/sh while true; do ftpput 195.84.101.107 -u [username] -p [password] gln-temp.log /tmp/root/temp.log echo 'Im done - going to sleep for 5minutes...' sleep 300 done |
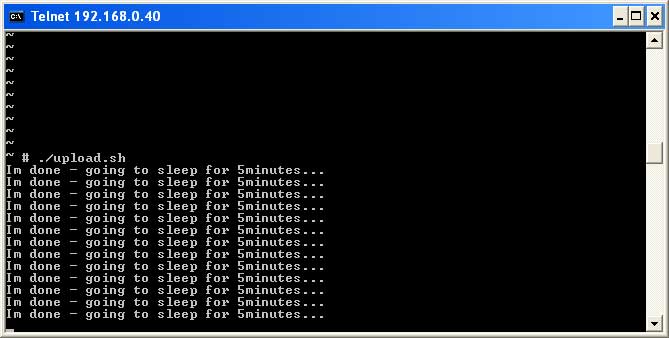
Screen dump while testing the upload shell script
- Honors to the brains behind -
Usually the information about almost anything is to be found on the internet;-), this is also the case for this interface. Here is some links to pages that helped me to get 'inspiration' for this project.
http://martybugs.net/electronics/tempsensor/
original description is found on page 21 (Figure 13) in the Application note 74 from DALLAS/MAXIM
http://pdfserv.maxim-ic.com/en/an/AN74.pdf
An other sulotion running on PC with Linux or MSwindows DigiTemp
Firmware DD-WRT with dokumentation http://www.dd-wrt.com/
Software DIDITEMP with dokumentation http://www.digitemp.com/
Go Back!
©1999-2006 SM2YER Goran